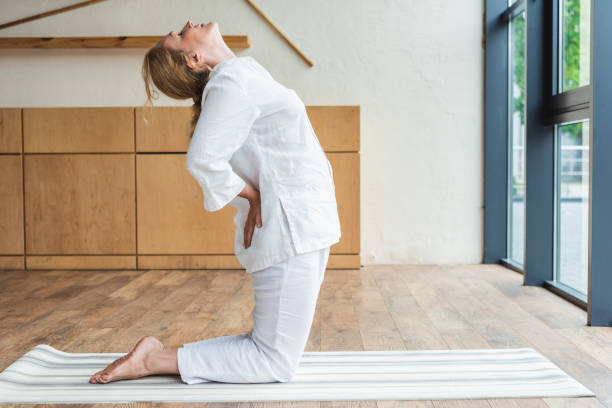
Lower back pain can be very debilitating.
Anyone can experience lower back pain. Yogis, athletes, and those who live sedentary lifestyles can all suffer from it.
What causes lower back pain?
Lower backs are very vulnerable. The lower back, unlike the upper spine (thoracic), is not protected by an almost immobile ribcage. The lower back, on the other hand, is a very mobile part of the spine. This can lead to it being overloaded and unable to support movements that the upper back cannot.
The constant sitting (which many of us do all day) can cause a chronic shortening in the hamstrings or iliopsoas. This can “pull” the muscles of the lower spine, causing tension and pain. Your best defense against lower back problems is a strong core to protect your spine and long surrounding muscles.
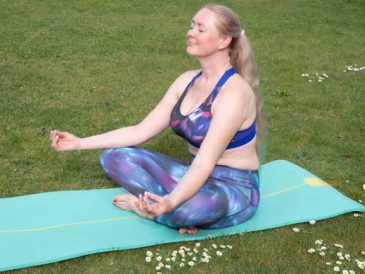
Four yoga poses can ease lower back discomfort. However, suppose you suffer from a serious injury or chronic condition in the lower back (such as a herniated disk or Sciatica). In that case, you should consult a medical professional before you try any stretches or exercises to alleviate your condition.
Sphinx Pose
Sphinx pose is a gentle stretch for your lower back that can help recirculate the blood in the area to promote healing. This posture helps to lengthen your abdominal muscles, which can be helpful for your lower spine because the contraction of these muscles can cause it to round and cause additional pain.
Begin by lying on your stomach with your feet hip distance apart. This will create a subtle rotation of your legs (allowing them to roll toward each other). Align your elbows under your shoulders, and then move your shoulders backward to widen your chest.
You can also press the pubic bone forward and down in the air. Relax your glutes and lower back muscles. Hold your breath for as long as you feel comfortable.
Supta Padangustasana (Reclining Big Toe Hold)
This pose will help to release your tight hamstrings and relax any muscles “tugging” at your lower back.
Lay flat on your back, with your legs stretched out in front of your body. Grab one knee and hug it into your chest. Then, grab the big toe using your first two fingers and thumb. The yogi toe lock is a way of holding the big toe with your first two fingers and thumb.
Begin to kick your foot up straight toward the ceiling gently. This will straighten your leg the most you can while feeling comfortable and relaxed.
Relax your weight toward the floor until you can feel your femur (your thighbone) relax into your hip socket. You can bring your foot up as close to your face as you like until you feel a gentle stretch in the back of your legs.
Relax your lower back and shoulders. Hold for two to five minutes, then release gently and switch legs.
Reclining Twist
Twists can help to release tension from the lower back muscles, and they balance out each side. These are excellent “neutralizers” for the spine and can be used to counter many other asanas.
Start by lying on your back with your legs straight ahead. Wrap your arms around your legs and draw your knees toward your chest to hug yourself. Keep your legs where they are, but release your hands. Your palms should be facing the ground. Place your hands in a wide T shape on either side.
As you inhale, lift your hips to about 2 inches and move them to the right. Exhaling, relax your knees to the left. Keep the knees directly on top of one another. You can choose how deep the twist is: the closer your knees are to the armpits of your body, the more intense the twist; the farther away, the gentler.
Relax your shoulders and keep them in contact. Relax into the opening, and when you are ready, switch sides.
Viparita Karaani (Legs Up The Wall).
Sit next to a brick wall, with one hip on the wall. Your hands should be behind your hips. Extend your feet forward and in front. You can also slide your legs up a wall by leaning your weight onto your hands.
You can do this by walking your hands in space backward until your entire torso is flat against the ground. Your seat should be pushed as close as possible to the wall (ideally, your seat bones should touch the wall). From here, you can soften everything.
Allow your legs to give in to gravity. Let your entire back melt into the mat. Relax your breathing and enjoy this inversion for a few moments.
You will (hopefully!) see drastic results if you practice all four positions or a combination of them as often as you can. You will see dramatic results with regard to lower back pain. Always practice with care and caution to maintain your body’s integrity so that they can help to release tension and tightness from the lower back muscles.